Blog
How to Build a VIP Membership Site on WordPress & WooCommerce Using Subscription + Membership Models

Build a Membership System for Your WooCommerce Store: A Complete Guide
Creating a membership system is one of the most effective strategies to increase user loyalty and drive growth for your independent online store. By offering exclusive discounts, access to restricted content, and other special benefits, you can significantly boost user engagement and repeat purchases. For WordPress + WooCommerce sites, we highly recommend two powerful and flexible plugins: YITH WooCommerce Subscription Premium and YITH WooCommerce Membership Premium.
You may have heard of them before, but what exactly can they do? And how do they work together to create a complete membership system? Don’t worry—we’ll break it all down below.
🔹 What Do These Plugins Offer?
YITH WooCommerce Subscription Premium
This plugin is designed to create and manage subscription-based products. Once a user purchases a subscription product, the system can automatically renew and process payments at set intervals.
⚠️ Note: This requires a payment gateway that supports recurring payments (e.g., PayPal Business Account; personal accounts do not support this feature).
YITH WooCommerce Membership Premium
This plugin helps you build a membership access system. You can create different membership tiers and control what users can access—whether it’s specific products, articles, or other resources. This is the core of your membership structure.
🔁 How Do the Two Plugins Work Together?
The key idea is: Bind membership privileges to subscription products.
When a user purchases a subscription product, they automatically gain access to the corresponding membership level and its benefits (e.g., exclusive products, members-only articles). This creates a seamless and automated membership management system.
🛠️ Step-by-Step Setup Guide
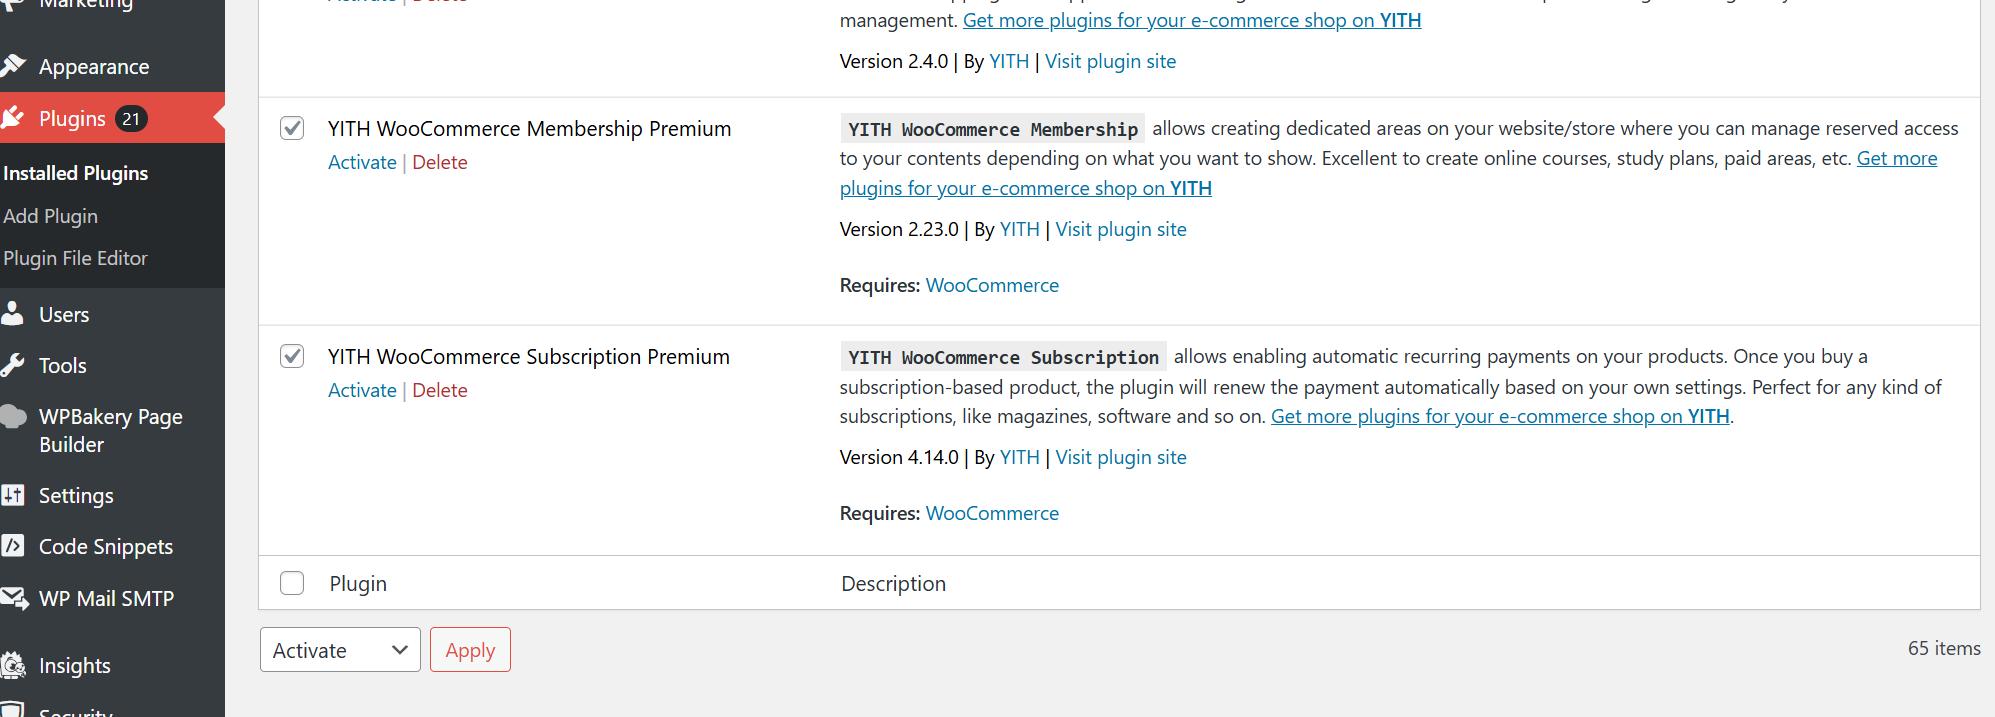
1. Download & Install the Plugins
Make sure you install and activate both premium plugins.
🔗 YITH WooCommerce Subscription Premium
🔗 YITH WooCommerce Membership Premium
(Note: It’s recommended to purchase from official or trusted sources to receive updates and support.)
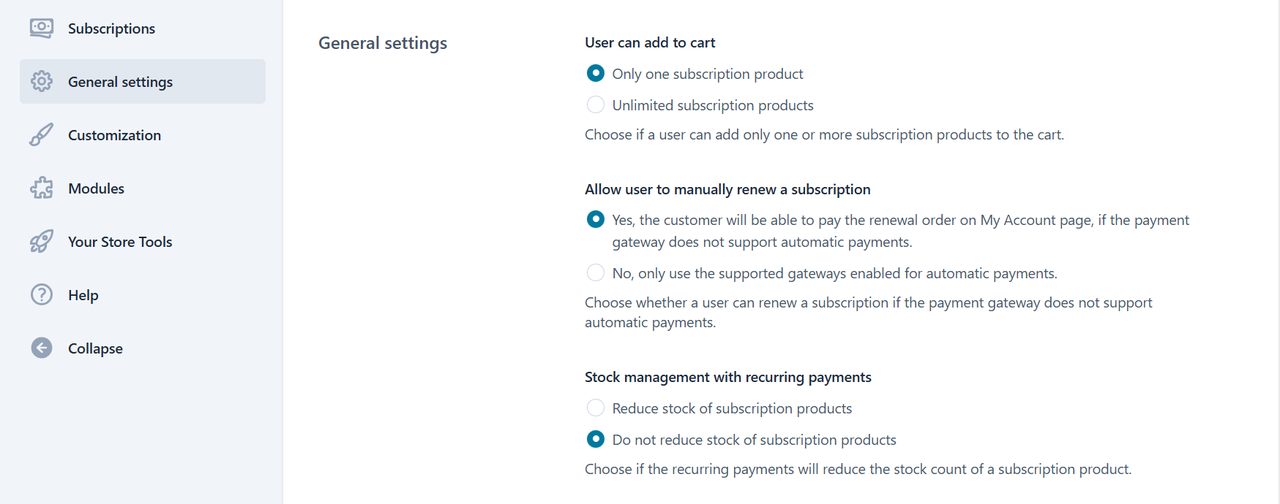
 2. Configure Subscription Settings
Navigate to the Subscription settings in your WordPress dashboard. Here you can adjust options like:
-
Allow users to hold multiple subscriptions
-
Enable manual renewal if auto-payment fails
-
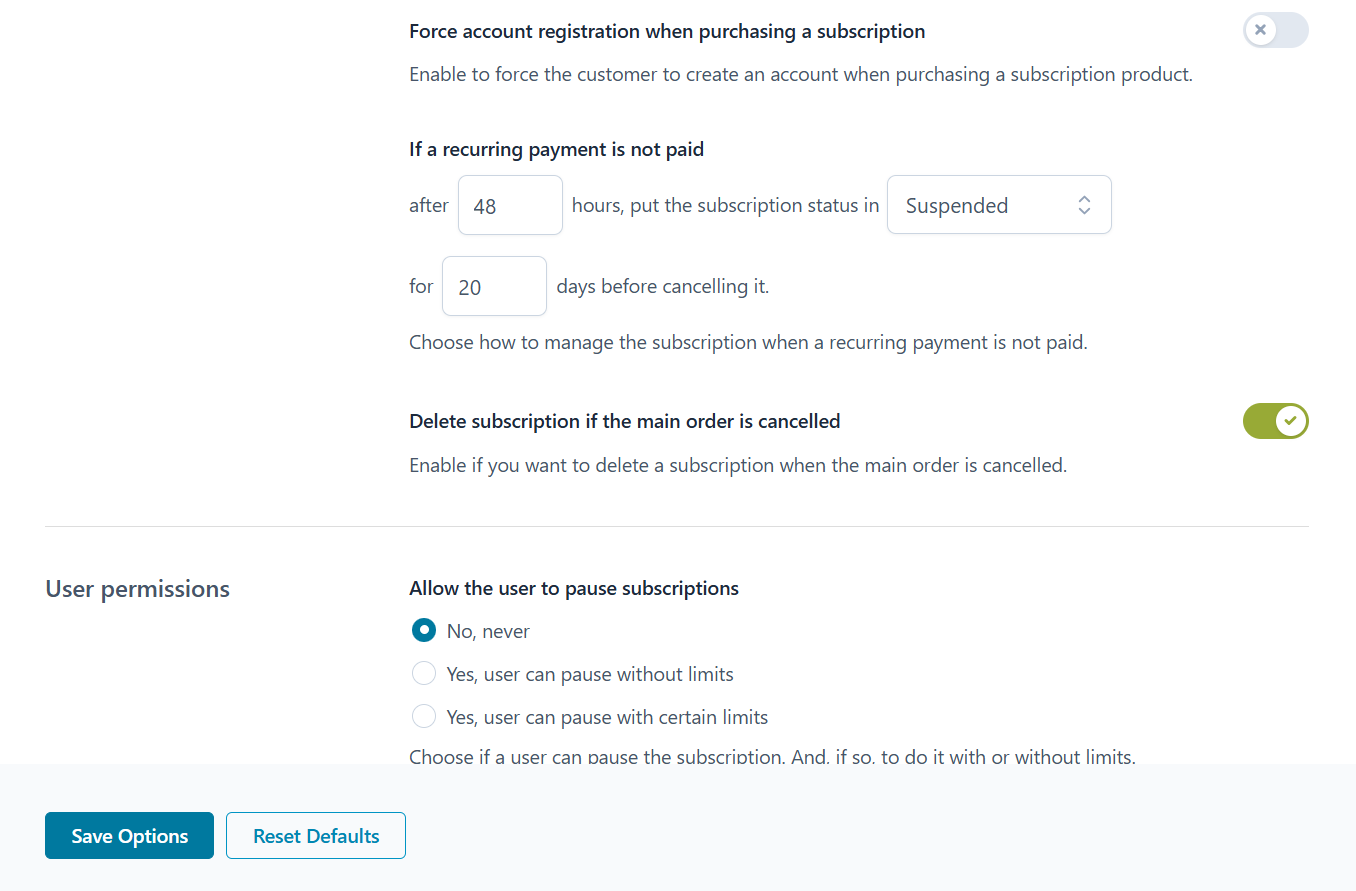
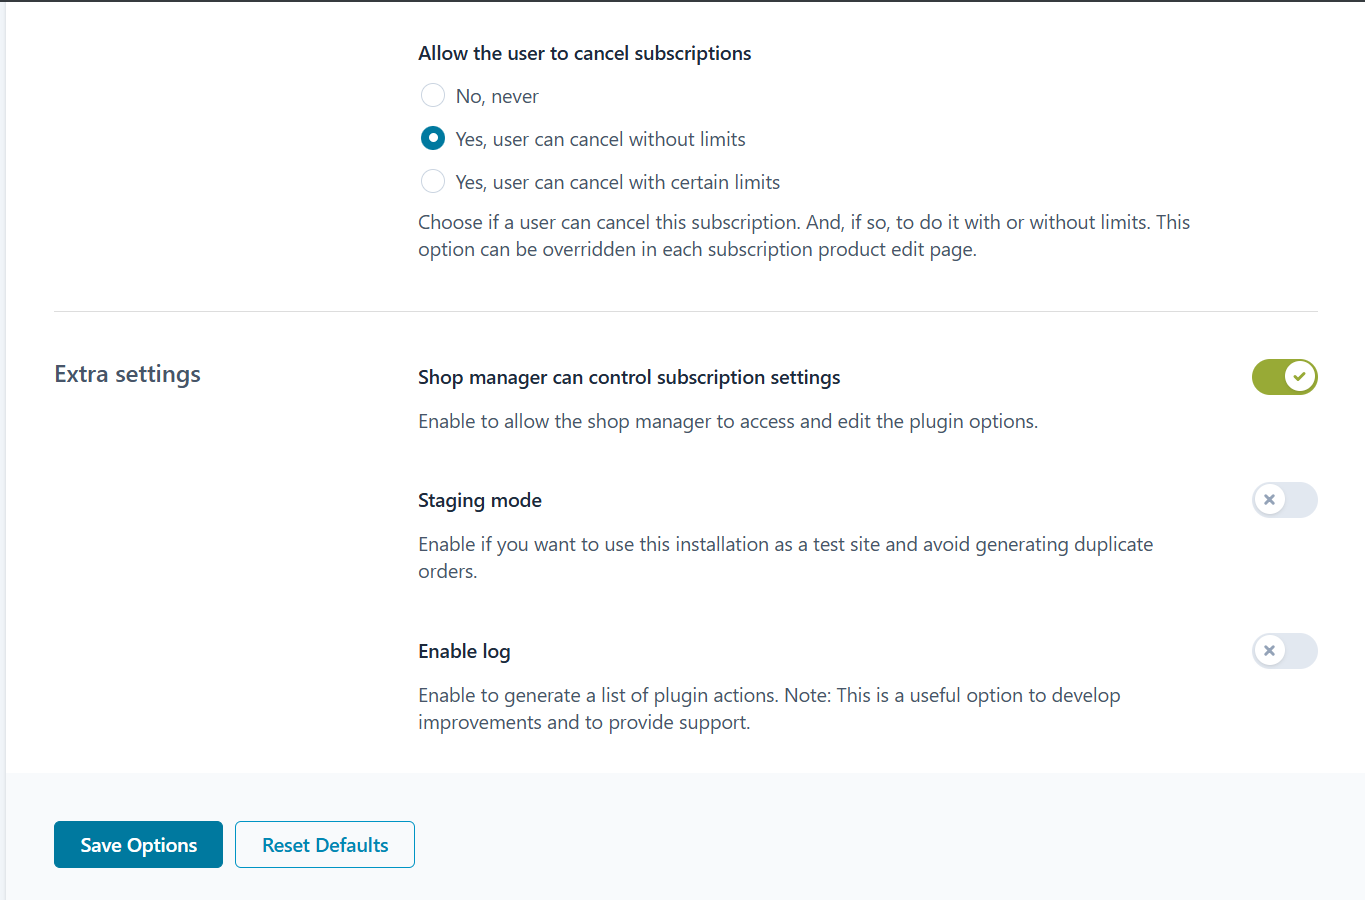
Allow users to cancel or pause subscriptions
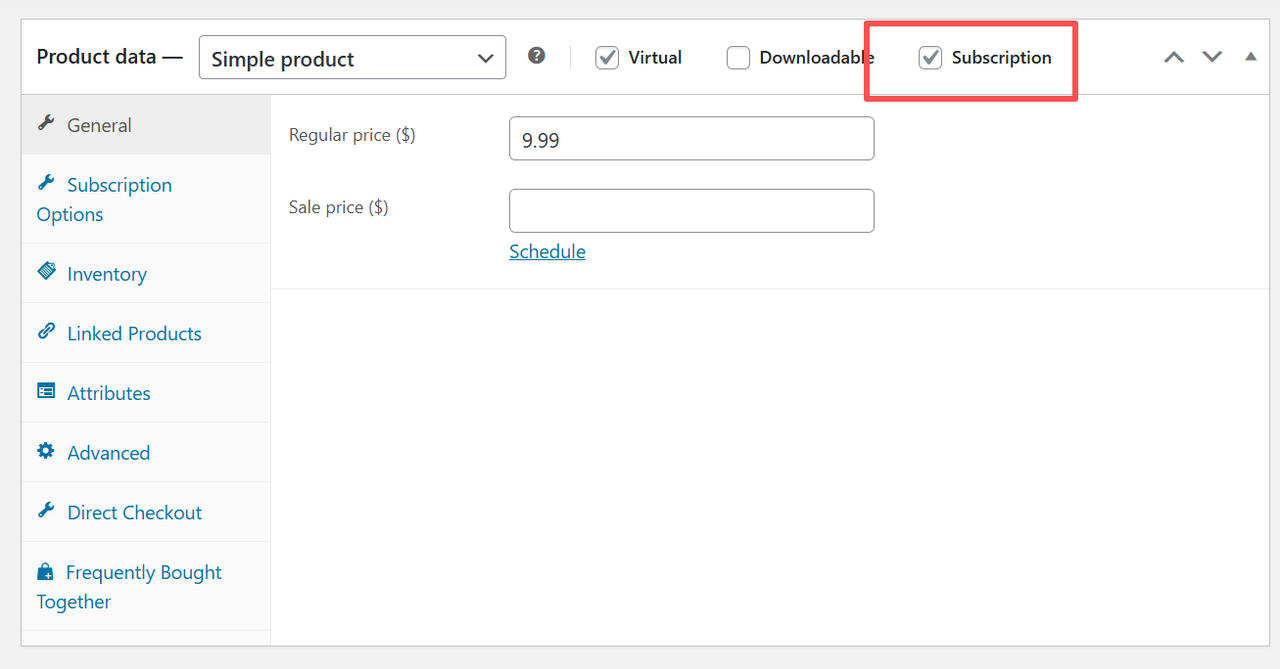
 3. Create a Subscription Product
Add or edit a product in WooCommerce and set its type to “Subscription.” This product will serve as the entry point to your membership program.
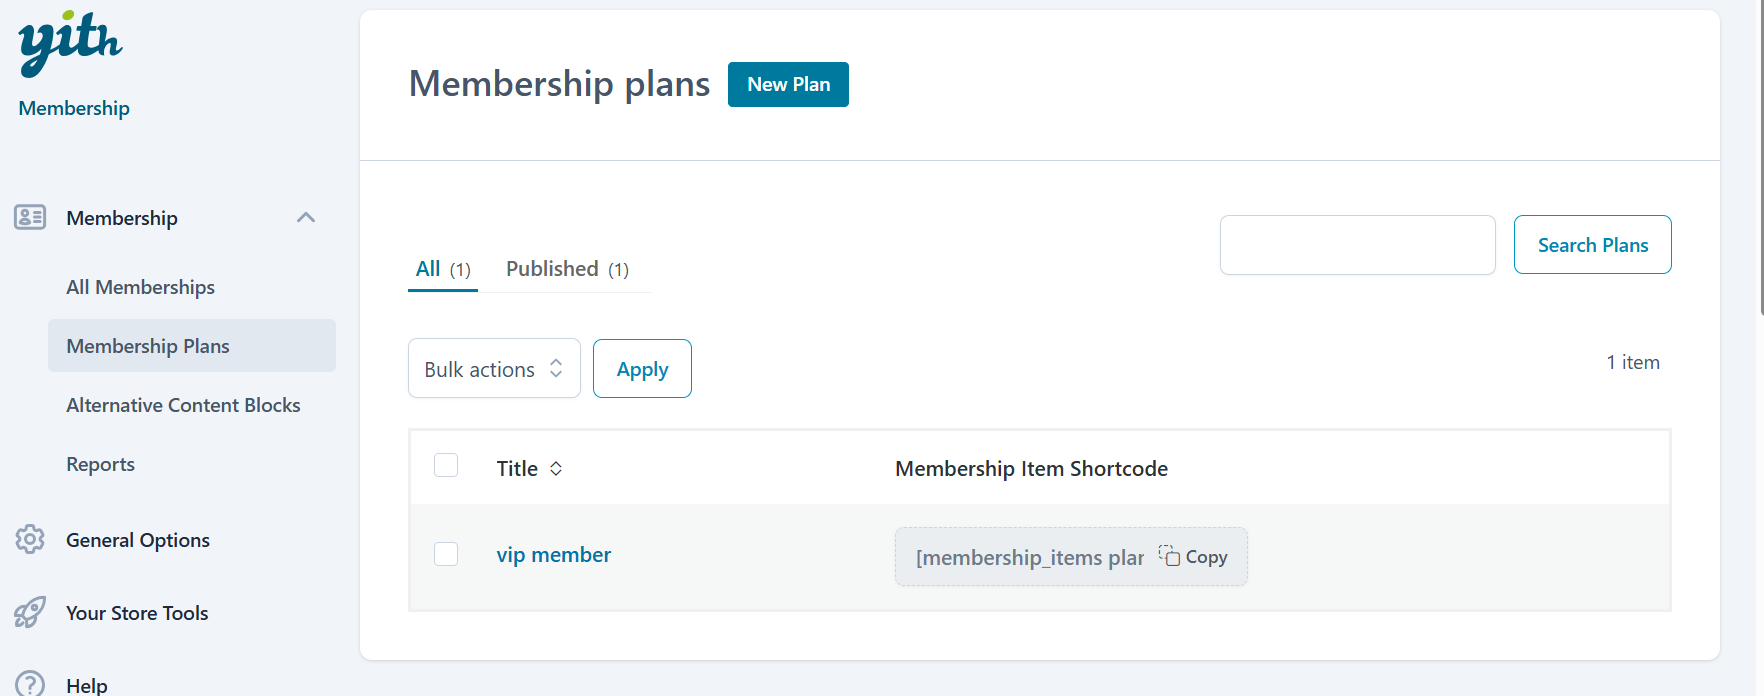
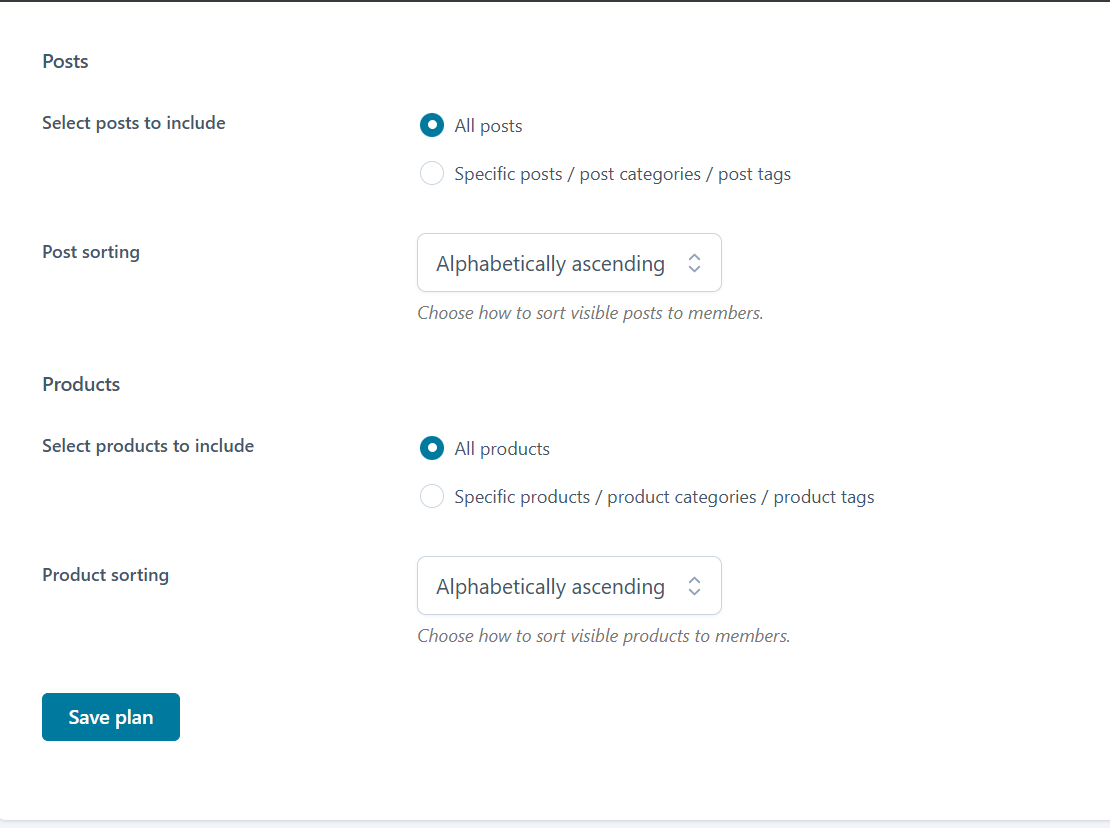
 4. Set Up Membership Plans
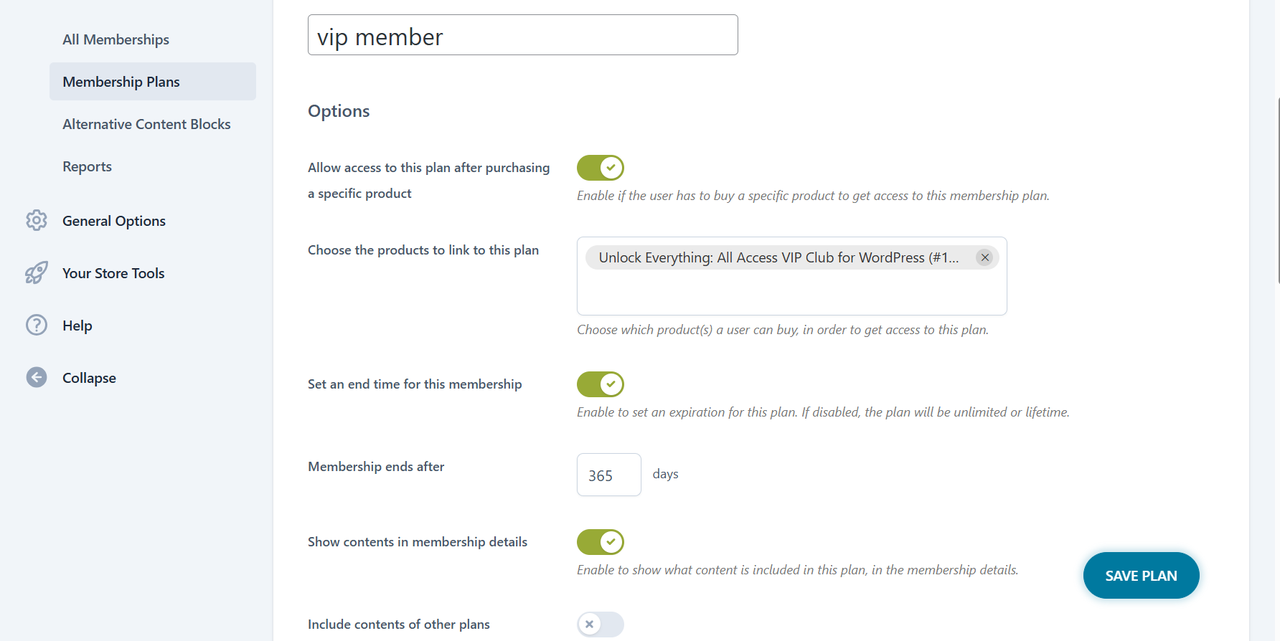
Go to Membership → Plans and create a new membership plan (e.g., “VIP Member”):
-
Link it to the subscription product you created
-
Set membership duration and access permissions (e.g., which products or posts are accessible)
-
You can also restrict certain products to members only to emphasize exclusivity
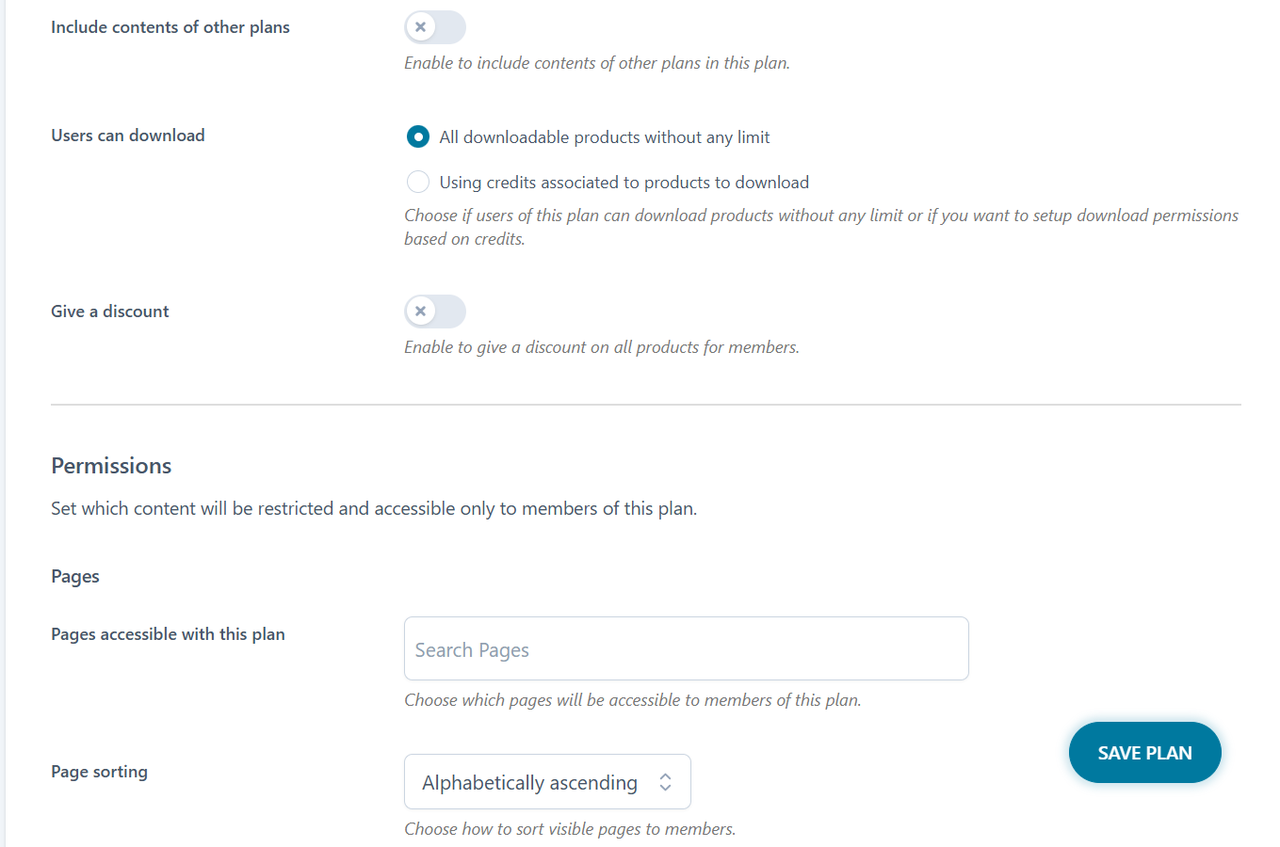
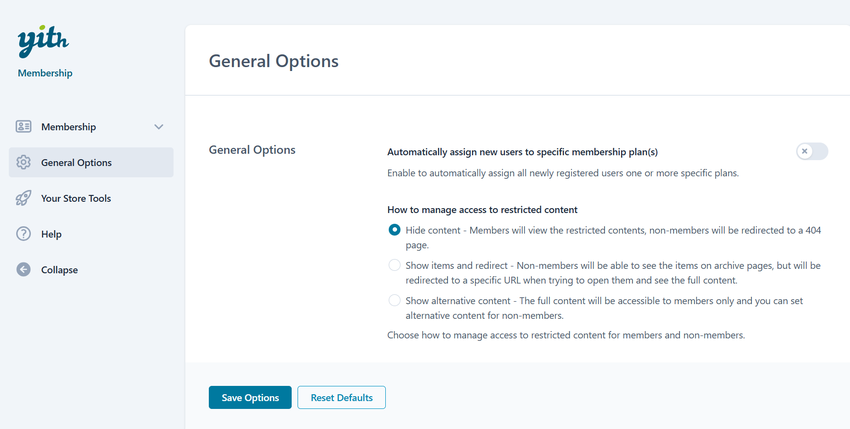
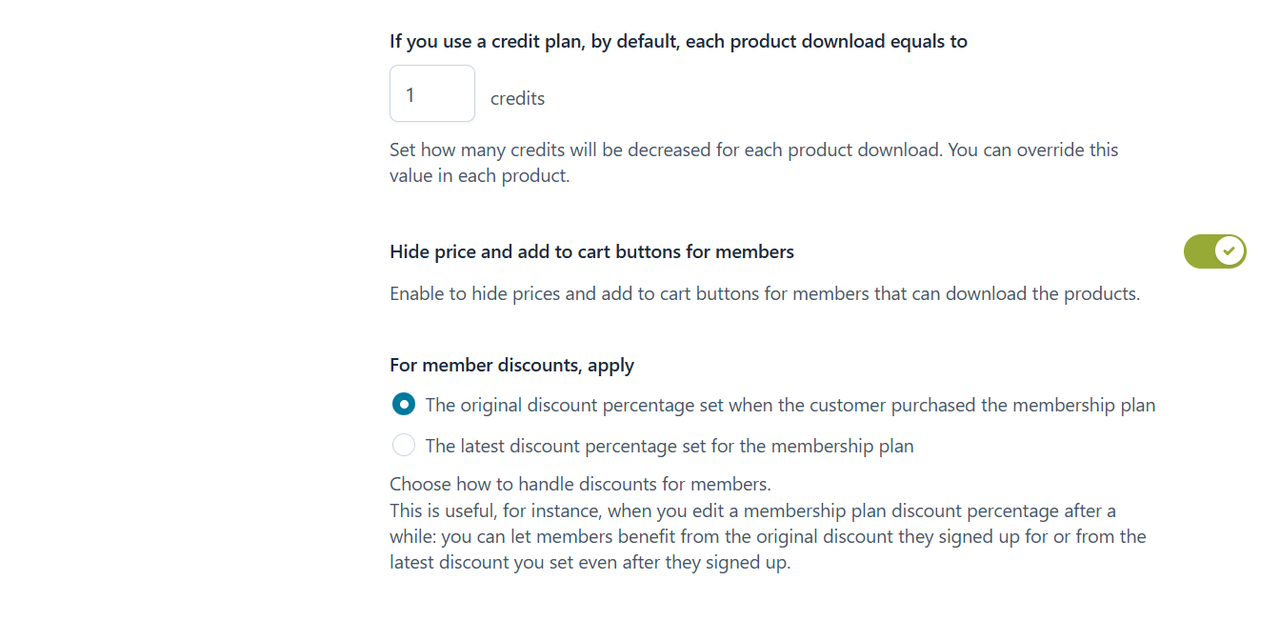
 5. Configure Global Membership Rules
In the Membership general settings, define site-wide rules that apply to all plans—such as default content restrictions or membership landing pages.

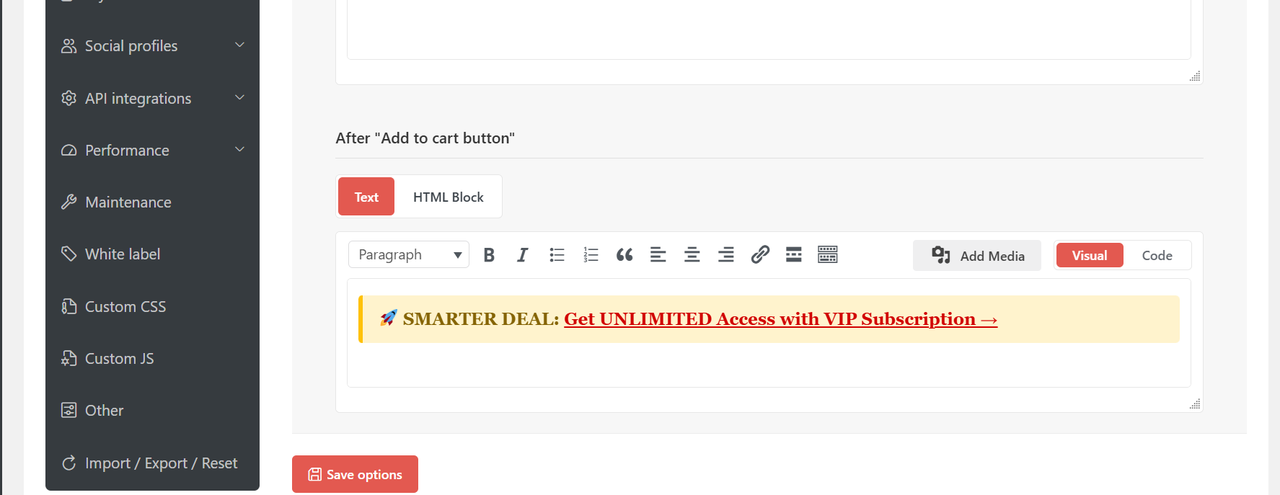
📣 How to Encourage Users to Upgrade
A membership system is only effective if users know about it and choose to join.
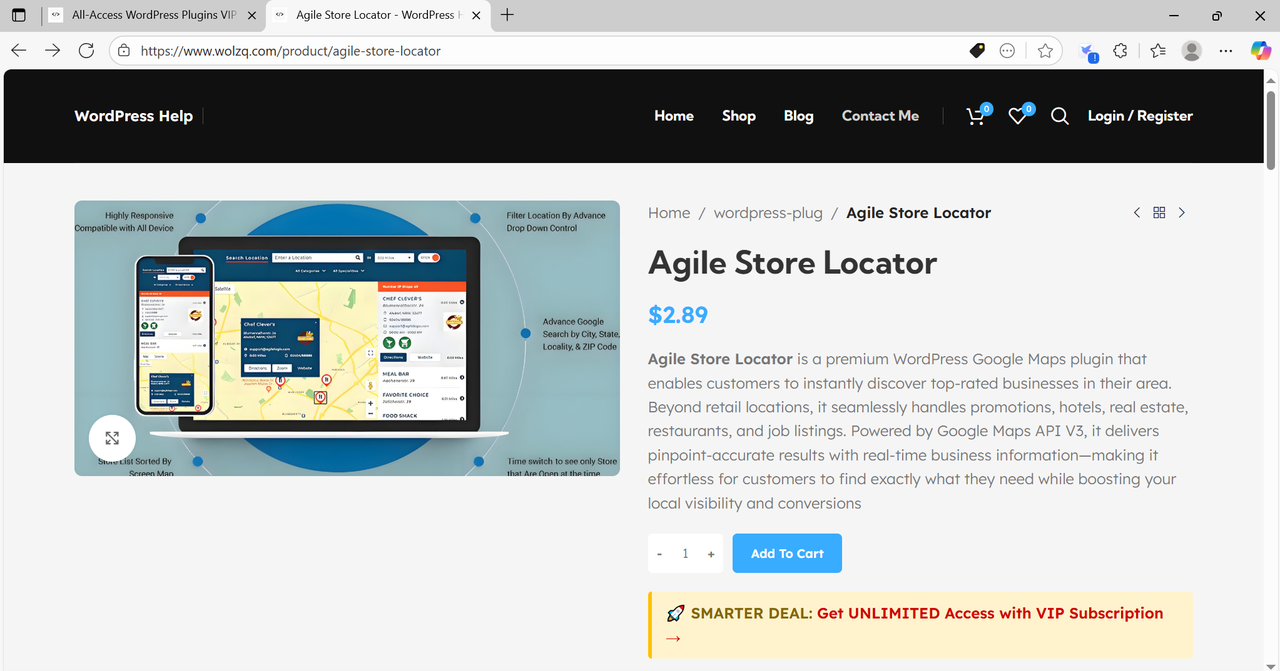
For example, if you’re using the Woodmart theme, you can use its built-in custom HTML module to add a message like “Upgrade to VIP Membership” below the Add to Cart button. Link this to your membership subscription product page.
✅ Summary
By combining YITH Subscription (for automated recurring payments and renewal management) and YITH Membership (for access control and member privileges), you can build a highly flexible and automated membership system on WooCommerce.
Pair this with clear, engaging calls-to-action on your site, and you’ll be well on your way to higher conversion rates and long-term customer retention.